POS Screen Layouts can be applied to multiple terminals at once, or each terminal can have their own individual layout that is custom designed specifically for them.
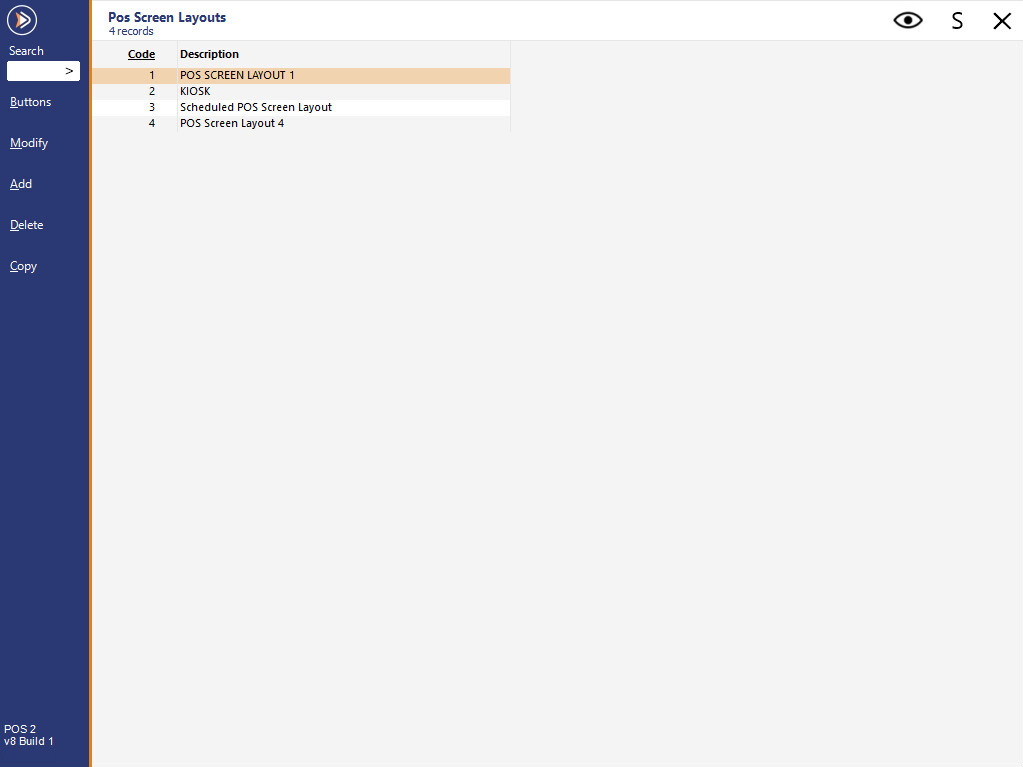
To access the layouts go to Setup > POS Screen > POS Screen Setup.
There will always be Layout 1 in this menu, but there are 99 layouts that you can create.
If you plan on using more than one layout for multiple outlets, it is a good idea to create an “empty” Master Layout that can be copied across to the other layouts before programming has commenced.
The master layout would include the functions that are used in each area regardless of the items they sell. These would include the Numerical Area, Admin Functions and Admin Page.
This will open the POS Screen programming window.
This will allow you to modify the description of the layout.
The code will be locked and unable to be edited.
This will add a new layout to the database.
The code will be auto-configured, but you will need to enter a description.
This will delete the selected layout.
Layout 1 and any other layouts that are in use cannot be deleted.


When you have more than one layout, you can copy from one layout to another.
This cannot be undone.
Highlight the layout you want to copy from and press the Copy button.
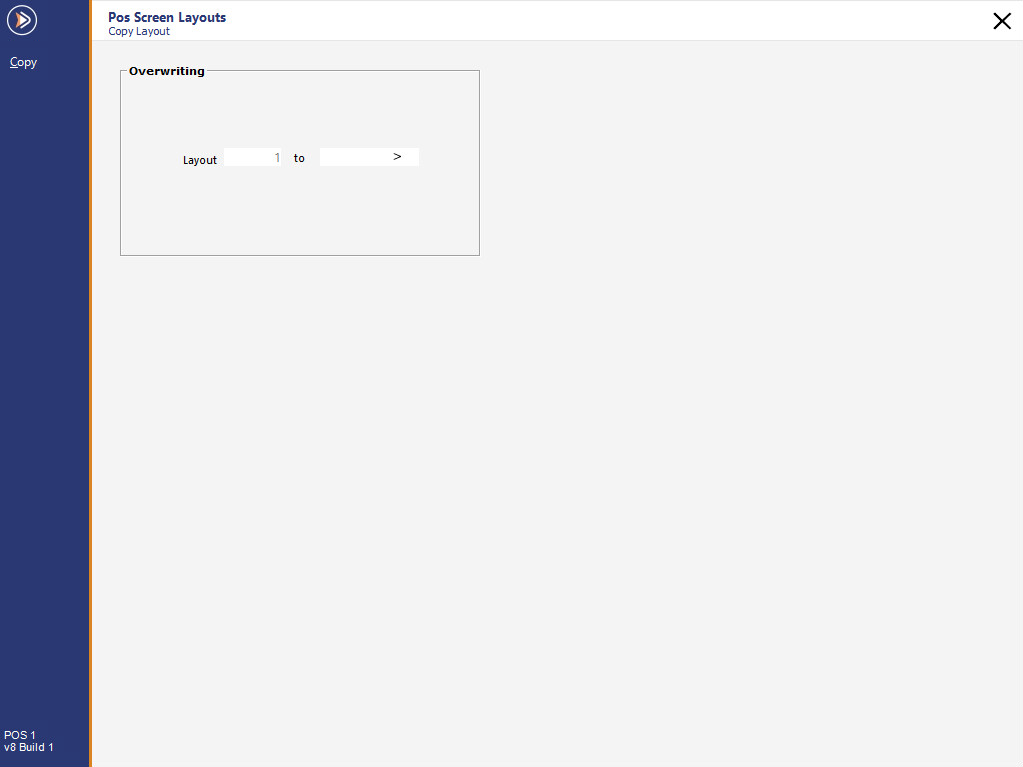
You will be asked to confirm the Overwrite of the layouts.

A confirmation window will open to confirm the Overwrite has taken place.

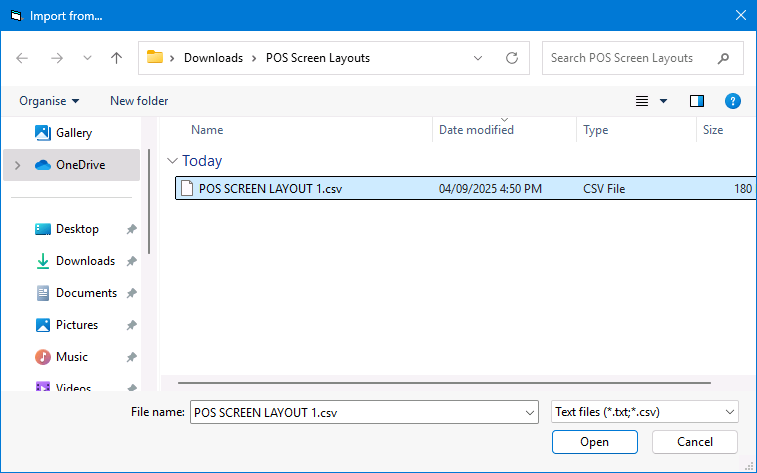
This option can be used to Import a POS Screen Layout that has previously been exported via the Export function.
Note that when using the Import option, it will overwrite the POS Screen Layout that is currently highlighted in the list.
Therefore, it is recommended that a blank layout is created via the Add button.
Then ensure that the newly created POS Screen Layout is selected to prevent overwriting an existing layout.
Select a POS Screen Layout > Press "Import" > Overwrite Layout Prompt is displayed > Press "Yes" to Overwrite the selected layout.

The "Import From..." folder browser window will open > Browse to the location of a POS Screen Layout CSV file > Press "Open".
After the layout has finished importing, a "POS Screen Layout Imported Successfully." prompt will be displayed.

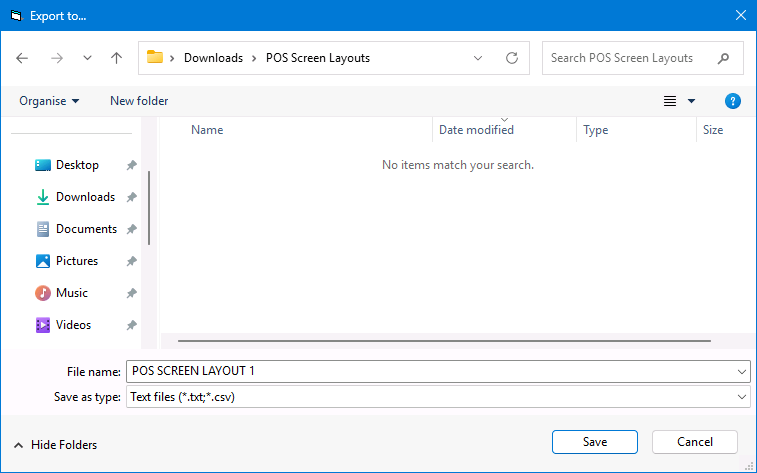
This option can be used to Export a POS Screen Layout.
To export a POS Screen Layout, select the required layout in the list, then press the Export button.
The "Export To..." folder browser window will open > Browse to a location to export the POS Screen Layout CSV file > Press "Save".
After the POS Screen Layout has finished exporting, a "POS Screen Layout Exported Successfully." prompt will be displayed.
